How to Use Green Screen on CapCut
In the world of digital content creation, knowing how to use green screen on CapCut can significantly enhance your videos. This powerful editing technique allows creators to replace backgrounds, making their visuals more engaging and dynamic.
In this article, we’ll explore various methods and tips for mastering green screen editing in CapCut.
Understanding Green Screen and CapCut
Before diving into the details of how to use green screen on CapCut, it’s essential to understand what a green screen is.

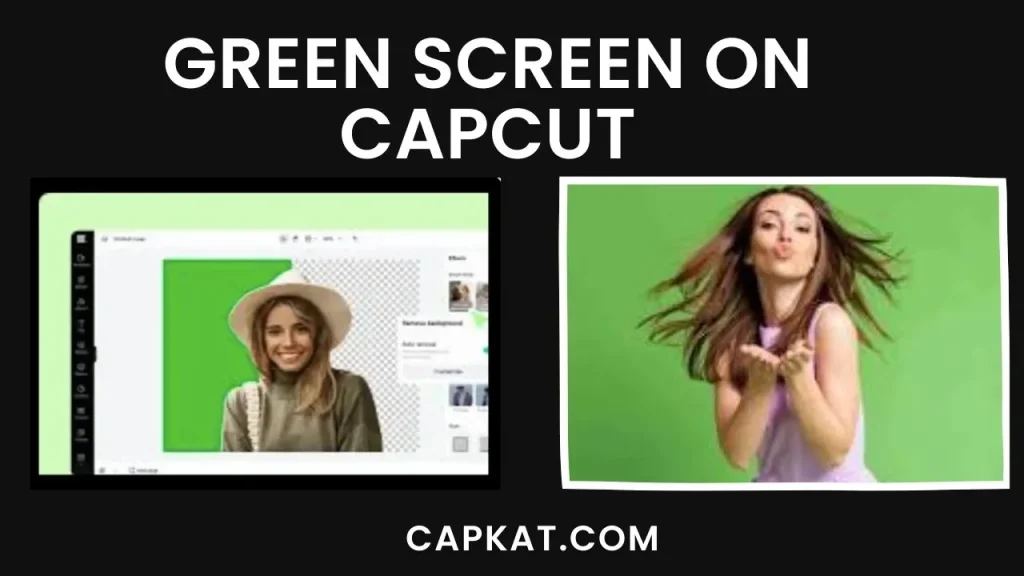
This technique, also known as chroma keying, enables you to replace a solid color background—usually green or blue—with any image or video of your choice. CapCut, a user-friendly video editing tool, simplifies this process, making it accessible for both beginners and experienced editors.
Step-by-Step Guide on How to Use Green Screen on CapCut
1. Preparing Your Clips
The first step in learning how to use green is to prepare your video clips. Here’s how to start:
- Upload Your Green Screen Footage: Open CapCut and click on “Import” to upload your green screen video.
- Select a Background: Choose a background video or image from your device or CapCut’s library to replace the green screen.
2. Using the Chroma Key Feature
One of the primary methods for how to use green screen on CapCut involves the Chroma Key feature. Follow these steps:

- Position Your Clips: In the timeline, place your green screen video as an overlay above the background.
- Activate Chroma Key: Click on the green screen footage, navigate to the “Cutout” tab, and enable the Chroma Key option. Use the dropper tool to select the green color.
- Adjust Settings: Tweak the Strength and Shadow settings to achieve a natural blend between the subject and the new background.
3. Utilizing Auto Cutout for Quick Edits
Another efficient way of how to use green screen on CapCut is by leveraging the Auto Cutout feature. Here’s how:
- Upload Your Clips: Import both the green screen video and your chosen background.
- Select Auto Cutout: Click on the green screen footage, go to the Cutout button, and enable Auto Cutout. The software will automatically remove the green background.
- Finalize and Export: Once you’re satisfied with the edits, click “Export” to save your video.
4. Customized Cutout for Detailed Edits
If you want more control, learning how to use green screen on CapCut with Customized Cutout is essential. Here’s how:
- Import Your Clips: Add both the green screen and background videos.
- Manual Adjustments: Use the Cutout tab to select “Custom removal.” Use the Smart Brush or Eraser tools to refine any areas you want to keep or remove.
- Export Your Final Video: Once your edits are complete, click “Export” to download your video.
Tips for Effective Green Screen Editing in CapCut
To master how to use green screen on CapCut, consider these best practices:
- Lighting Matters: Ensure even lighting to avoid shadows on the green screen, which can complicate the editing process.
- Quality Footage: Always use high-resolution videos for better results.
- Distance from Camera: Maintain an appropriate distance between the subject and the camera for a more natural appearance.
- Choose the Right Screen: Use a bright, wrinkle-resistant green screen for optimal performance.
Conclusion
Understanding green screen technology opens up a world of creative possibilities. Whether you choose the Chroma Key feature, Auto Cutout, or Customized Cutout, CapCut offers essential tools for stunning visual transformations. With practice and the right techniques, you can create captivating videos that engage your audience and elevate your storytelling.
Ready to dive in? Download CapCut today and start experimenting with your newfound skills in green screen editing! Your creative journey awaits!
